
Life-Hack #1: Password protected bots
A password-protected bot is a bot whose user can use it only if he knows and specified the correct password, saving it in a variable. You can also password protect only part of the bot, making only certain menus inaccessible.
Life-Hack - involves the use of existing functionality in non-obvious and rather ingenious ways, creating functions in your bot, that were not originally built by the constructors’s developers.
In this section, we publish various options and turnkey solutions for what can be created using the capabilities that are already available in the @MenuBuilderBot constructor. When creating such manuals, it is assumed that you, to one degree or another, are already familiar with the basic functions of the constructor and the basic mechanisms for working with it. If in the process of studying the presented material your basic knowledge is not enough, we advise you to study the basics before continuing.
Options of functionality implementation
The manual presents two options for implementing the functionality:
1. The two-buttons password protection system - simpler and less expensive.
2. One button password protection system - for more advanced bot creators and more expensive.
If something is not clear to you in the second option - read the first option - it is described in more detail - for beginners.
❖ Acquiring of functionality
All functionality is purchased IN YOUR BOT, for this go to your bot:☞ 🔐Admin | 🧩Extensions
IMPORTANT: The purchase of functionality for the bot is available only to the Creator (owner) of the bot. Admins CANNOT buy functionality!
❖ Two-buttons password protection system
You will need:
1. Text variable☞ 🔐Admin | 🧩Extensions | 📂Variables
You can use any unused text variable if you already have one.
2. Conditions for the button☞ 🔐Admin | 🧩Extensions | 📂Buttons
1. Create variables
Variable (Text) - Go to your bot:☞ 🔐Admin | 🗄Variables | 📙Text | ➕ Create Variable
Variable name: user_pass (you can use your own).
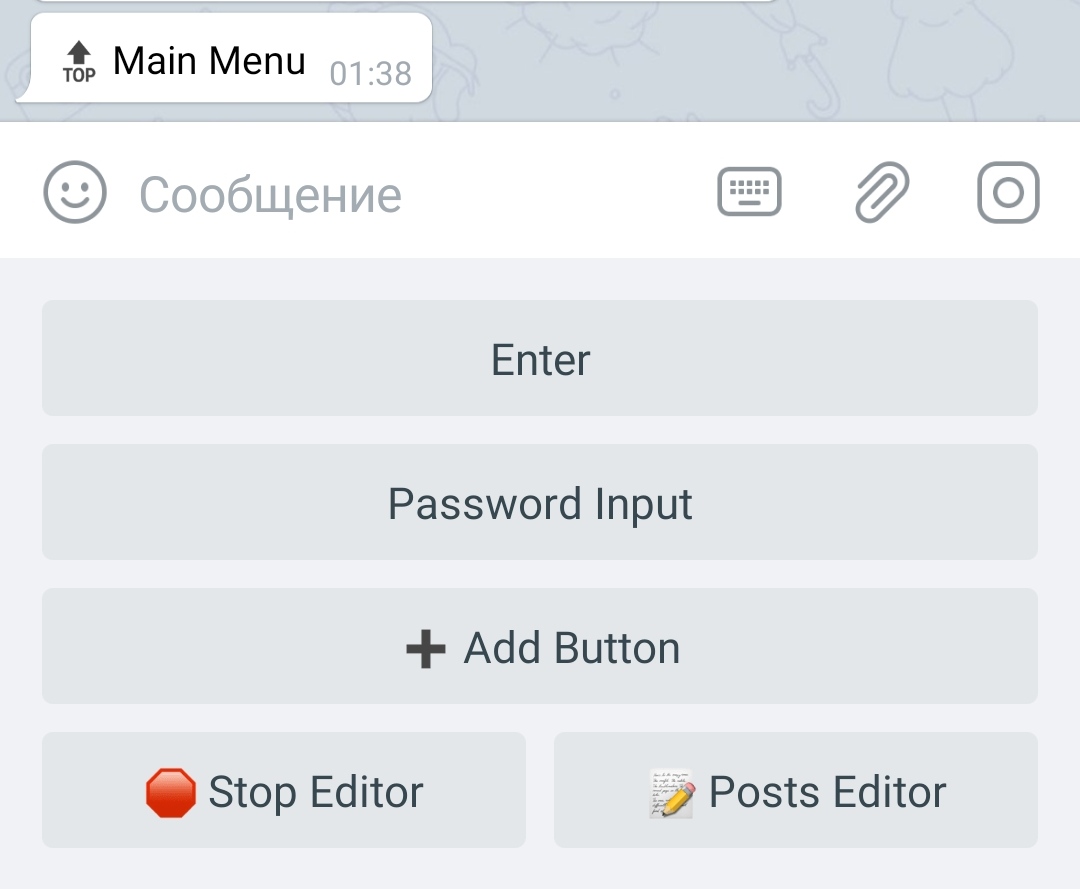
2. Create two buttons
2.2 One to ask for password.
Without leaving the Buttons Editor (if you left, go back) add another one.
Name of the button: "Password Input".
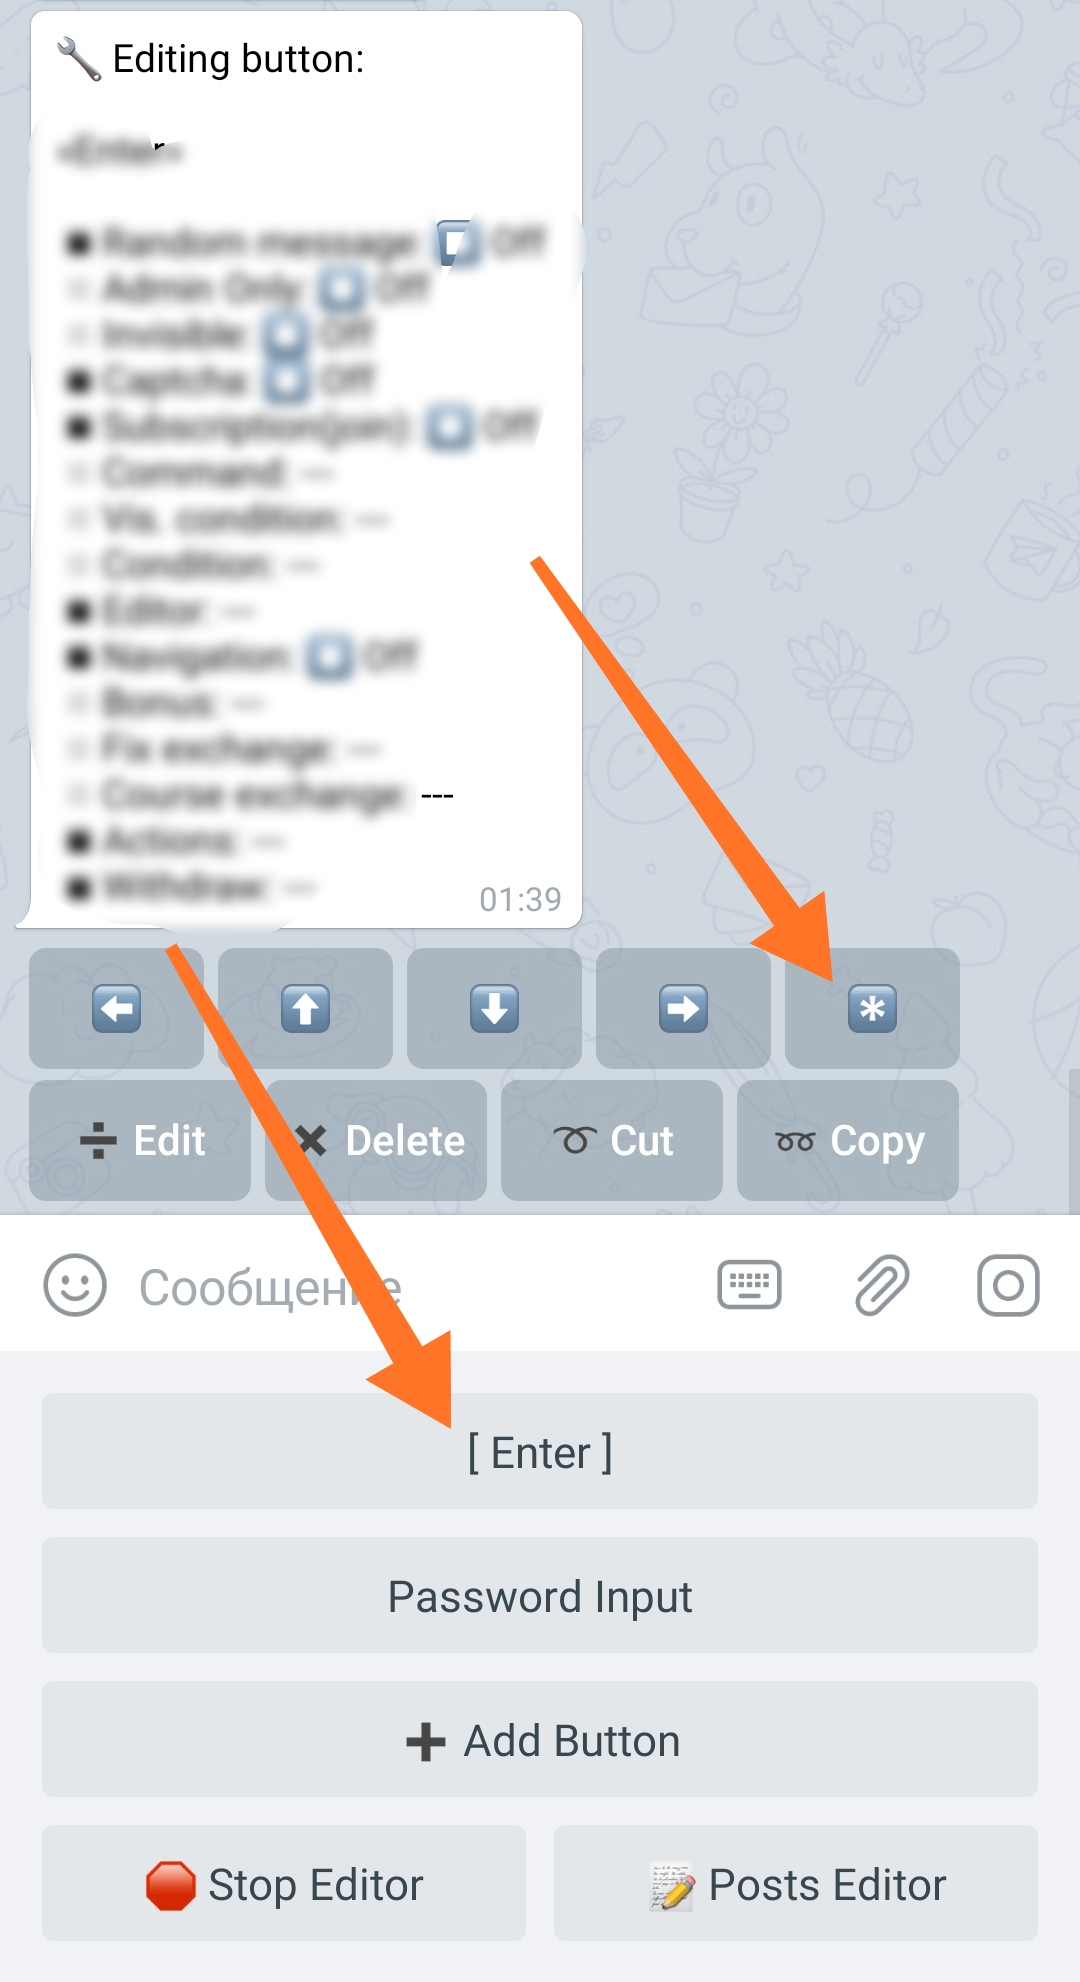
3. Select «Enter» and go to its settings.
Without leaving the Buttons Editor (if you left, go back) press the inline settings button [*].
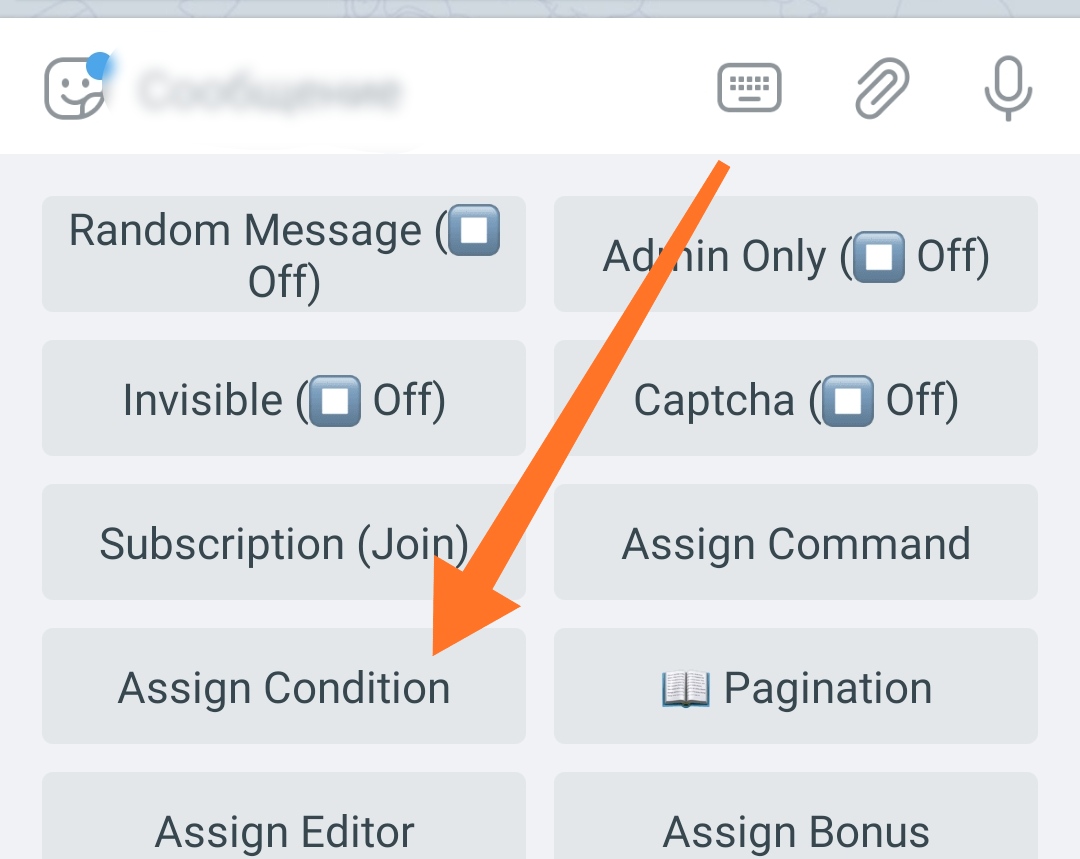
4. Click «Assign Condition».
You will not see this button if you have not purchased the "Conditions for Buttons" extension.
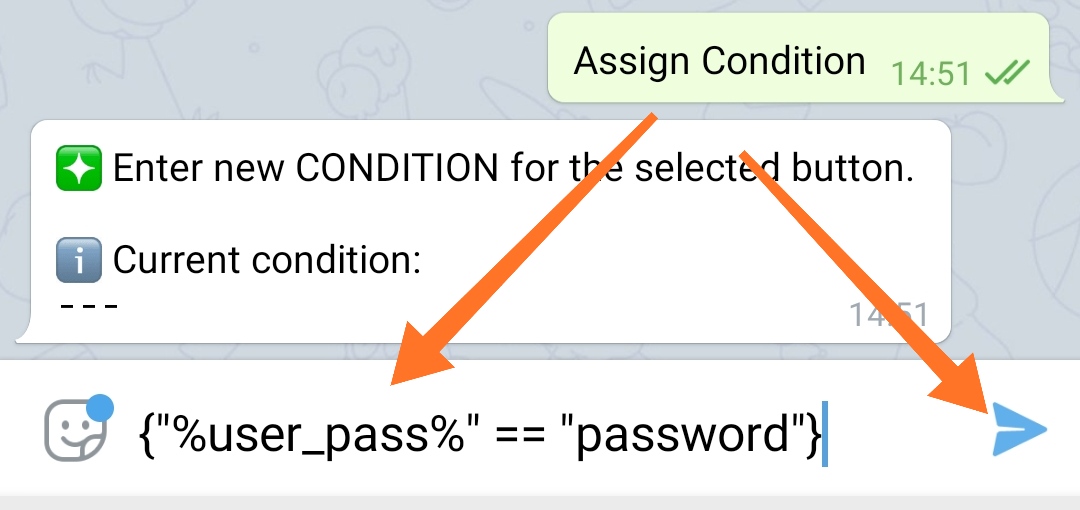
5. Add the following condition:
{"%user_pass%" == "password"}
In this expression %user_pass%, replace with the macros of your variable, if you specified a different name during its creation. The word "password" should be replaced with your actual password.
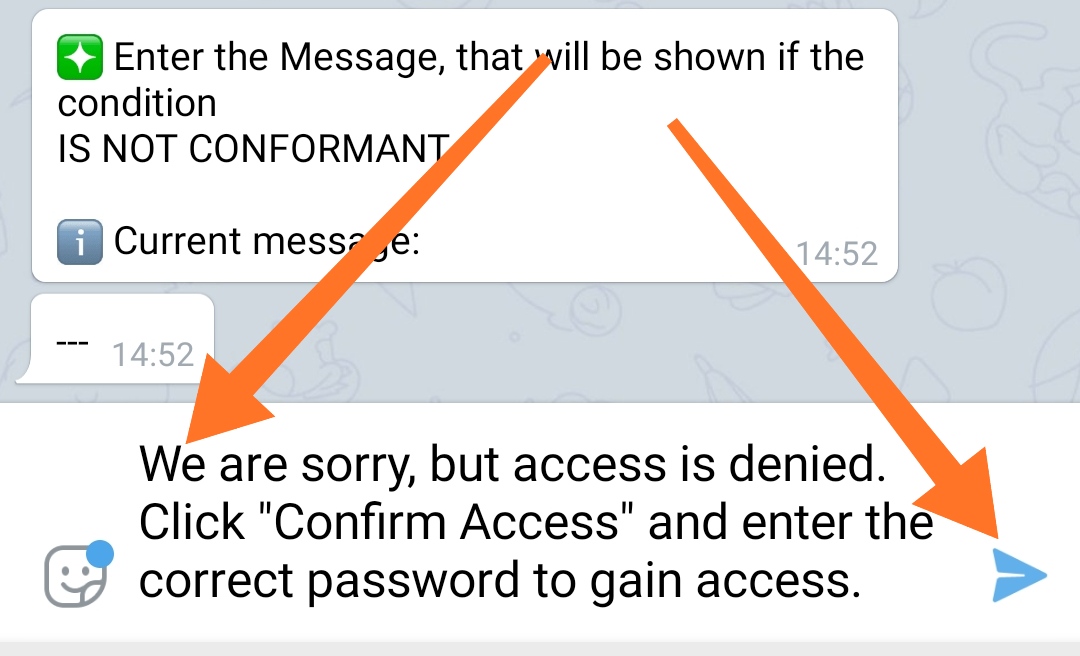
6. Place any message that would make it clear to the user that he did not enter the password or his password is not correct
For example:
"We are sorry, but access is denied. Click «Confirm Access» and enter the correct password to gain access."
7. Exit button settings
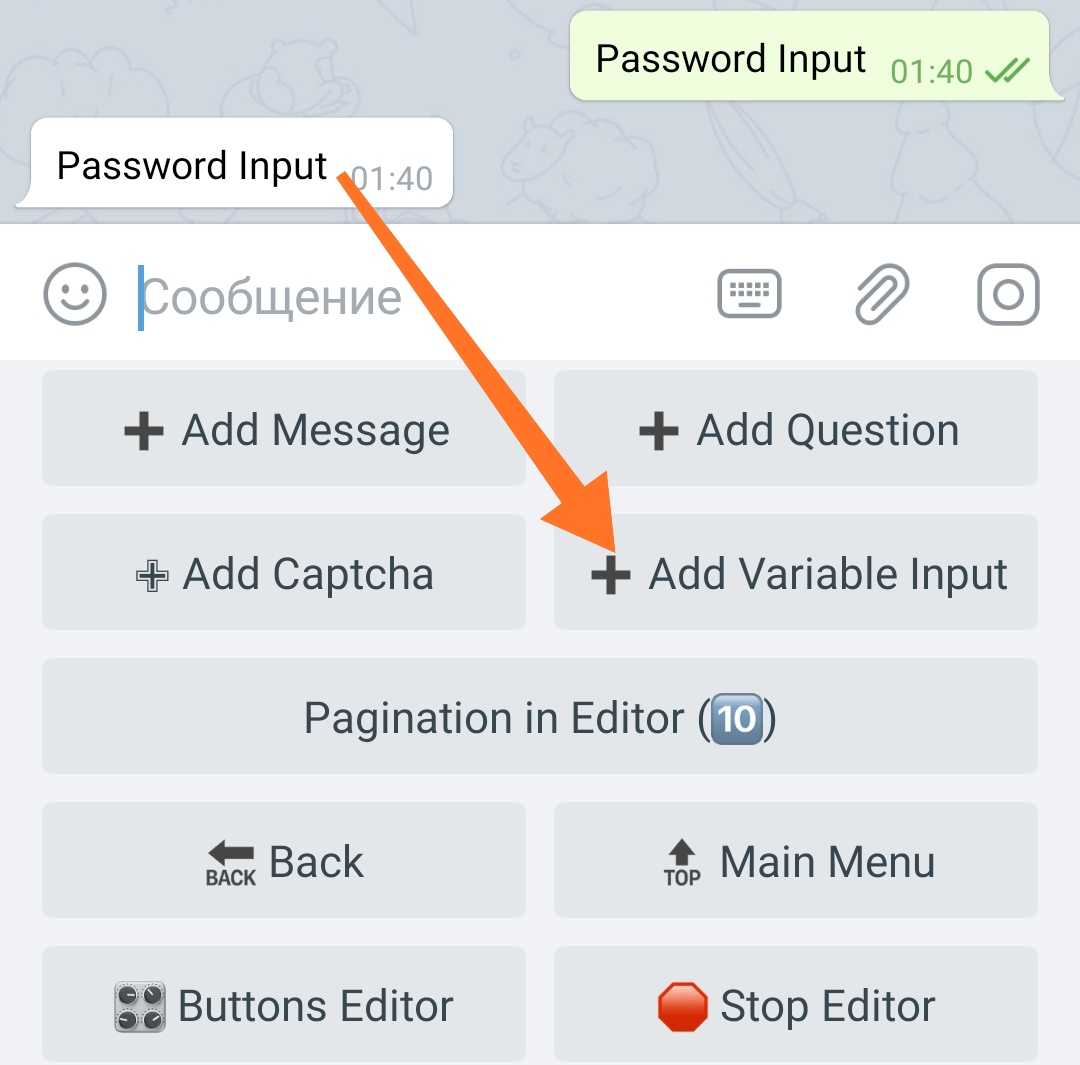
8. Go to the «Post Editor» and go to the "Password Input" button
9. Click «Add Variable Input» and select the variable "user_pass" from the list .
You won't see this button if you don't have any variables.
10. Enter a question like this:
"Please enter your password."
All is ready!
❖ One-button password protection system
You will need:
1. Variables - 2 pieces☞ 🔐Admin | 🧩Extensions | 📂Variables
2. Actions - 2 pieces☞ 🔐Admin | 🧩Extensions | 📂Actions
3. Conditions for buttons☞ 🔐Admin | 🧩Extensions | 📂Buttons
4. Invisible buttons (Optional - You can use "Admin Only" mode)☞ 🔐Admin | 🧩Extensions | 📂Buttons
1. Create variables
● Variable (Text)
Variable name: user_pass, (you can use your own). This is where your users will save their password.
● Variable (Global):
Variable name: curr_pass, (you can use your own). Set your password to the variable curr_pass as the value.
The variable curr_pass may not be used - it is needed for the convenience of changing the password if necessary.
2. Create two buttons
2.1. One to enter the menu (you will create your menu in it).
● The name of the button "Enter".
Command: /enter (Move User - On)
● Pre-Action of Commands
Command: /pass
Condition: {"%user_pass%" != "%curr_pass%"}
If you didn't create the variable curr_pass, then specify your password instead of %curr_pass%.
2.2 Second button is invisible for user - to enter the password.
● The name of the button is "Password Input".
Invisible: All (You can use "Admin Only" mode)
Command /pass (Move User - On)
● Post-Action of Commands
Command: /enter
Condition: {"%user_pass%" == "%curr_pass%"}
● Add user_pass Variable Input to the button: (User will enter password here).
Question: "Enter password:"
● Add Message: "{bool_symb("%user_pass%" == "%curr_pass%", "✅ Password Correct!", "❌ Password incorrect...")}"