
Life-Hack #2: User groups in bots
User Groups in your bot will allow the admin to control access to the bot's functionality by permitting and restricting access for different groups. It will allow you to create access levels - when a user with a high level will have access not only to his group, but also to all lower groups. It is possible to organize paid access and automate the assignment of groups.
Life-Hack - involves the use of existing functionality in non-obvious and rather ingenious ways, creating functions in your bot, that were not originally built by the constructors’s developers.
In this section, we publish various options and turnkey solutions for what can be created using the capabilities that are already available in the @MenuBuilderBot constructor. When creating such manuals, it is assumed that you, to one degree or another, are already familiar with the basic functions of the constructor and the basic mechanisms for working with it. If in the process of studying the presented material your basic knowledge is not enough, we advise you to study the basics before continuing.
❖ Acquiring of functionality
All functionality is purchased IN YOUR BOT, for this go to your bot:☞ 🔐Admin | 🧩Extensions
IMPORTANT: The purchase of functionality for the bot is available only to the Creator (owner) of the bot. Admins CANNOT buy functionality!
You will need:
1. Numeric variable☞ 🔐Admin | 🧩Extensions | 📂Variables
You can use any unused Numeric variable if you already have one.
2. Conditions for the button☞ 🔐Admin | 🧩Extensions | 📂Buttons
❖ Create user groups
1. Purchase and create a Numeric variable.
Name it for example "group".
You can use any unused text variable if you already have one.
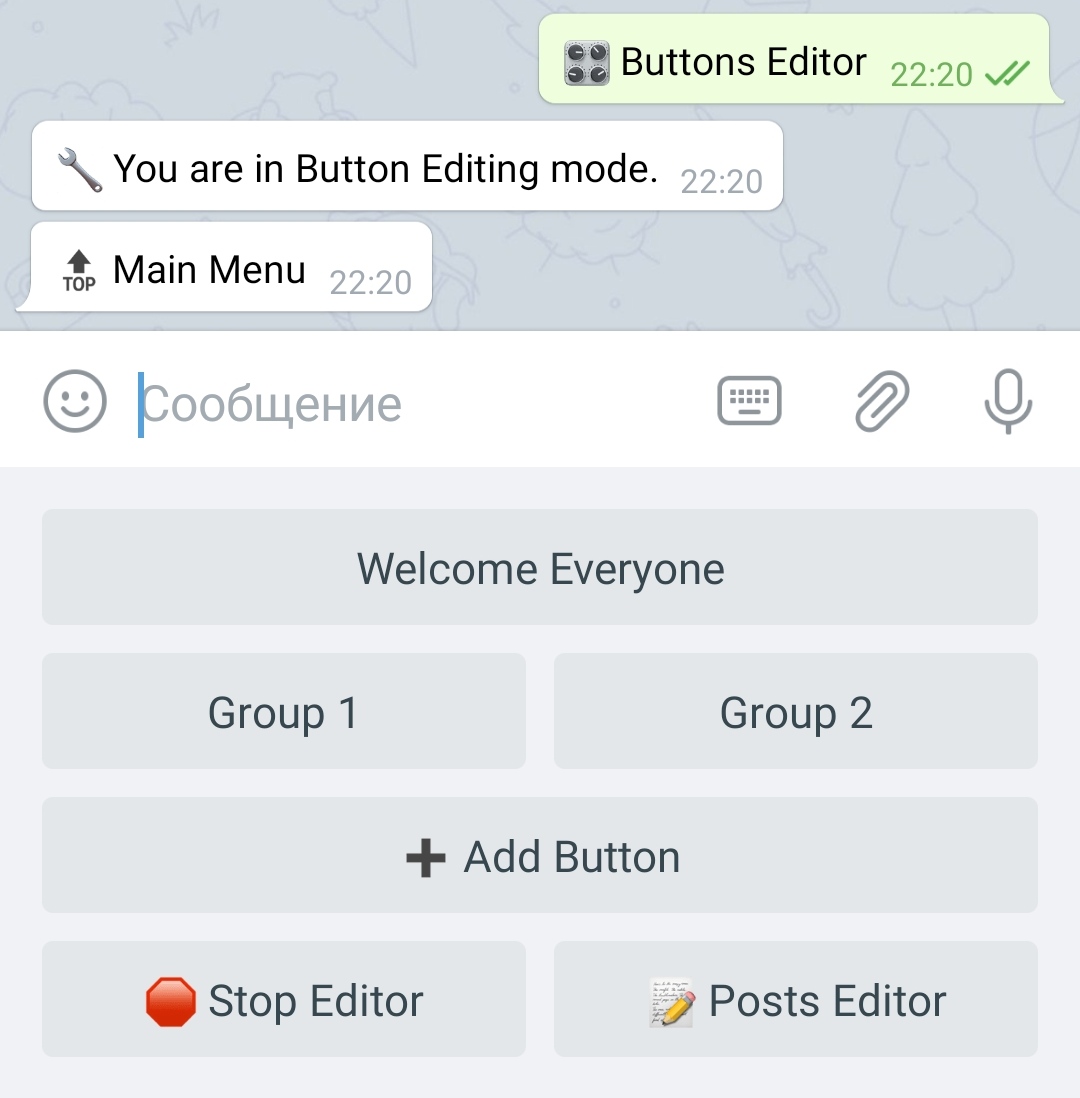
2. Create three buttons
2.1 One for the shared menu, for example: "Welcome Everyone".
2.2 One for the first-level group, for example: "Group 1".
2.3 One for the second-level group, for example: "Group 2".
3. Add text messages:
3.1 Go to the button "Welcome Everyone" and add a message like: "Everyone is allowed to access here."
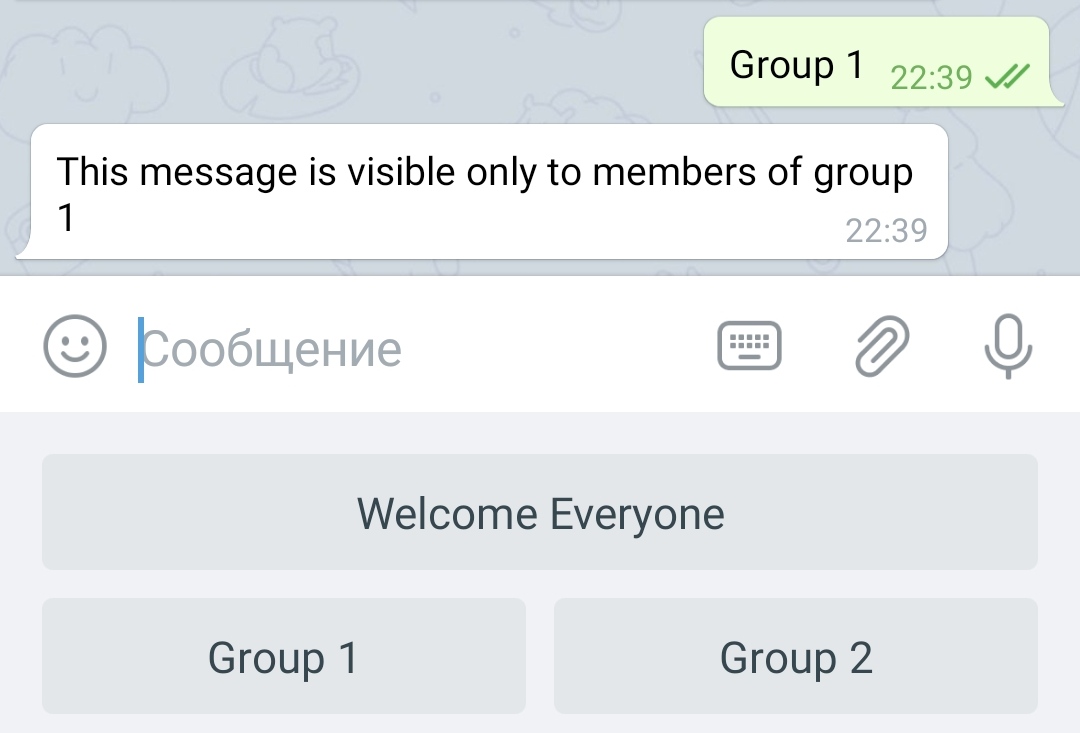
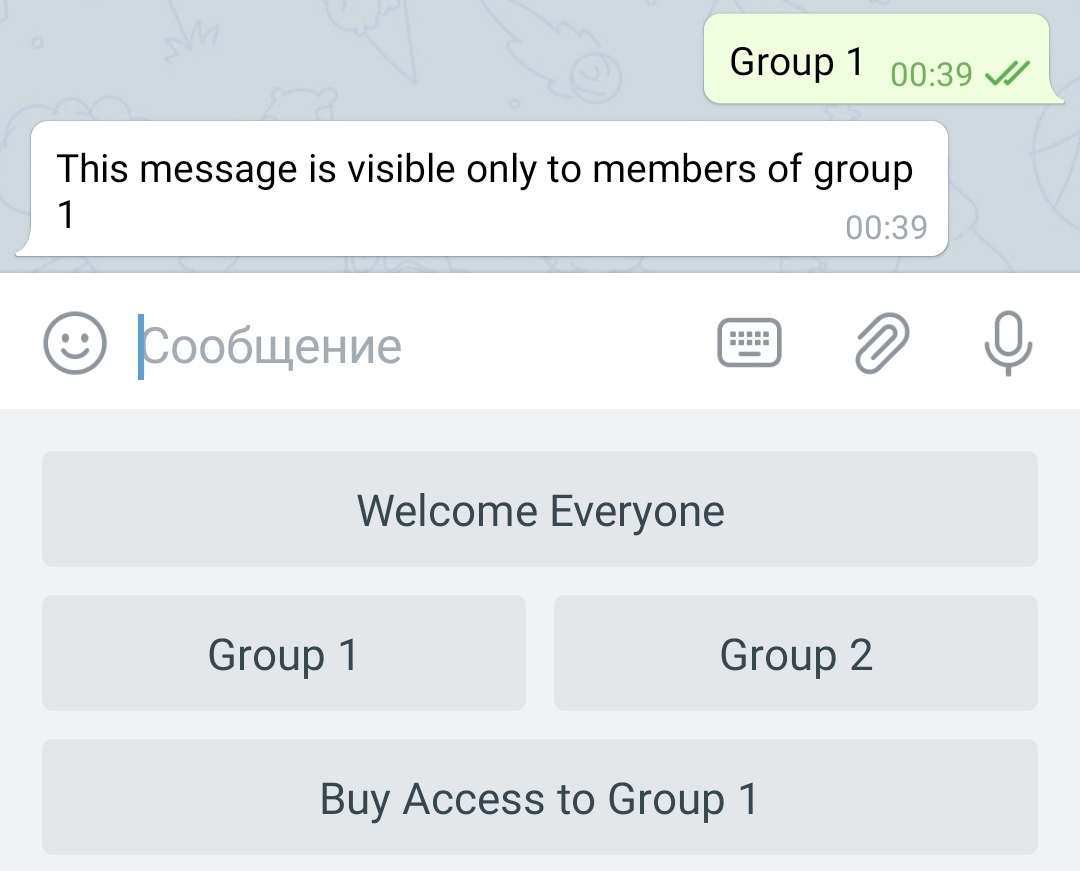
3.2 Go to "Group 1" button and add a message like this: "This message is visible only to members of group 1".
3.3 Go to "Group 2" button and add a message like this: "This message is visible only to members of group 2".
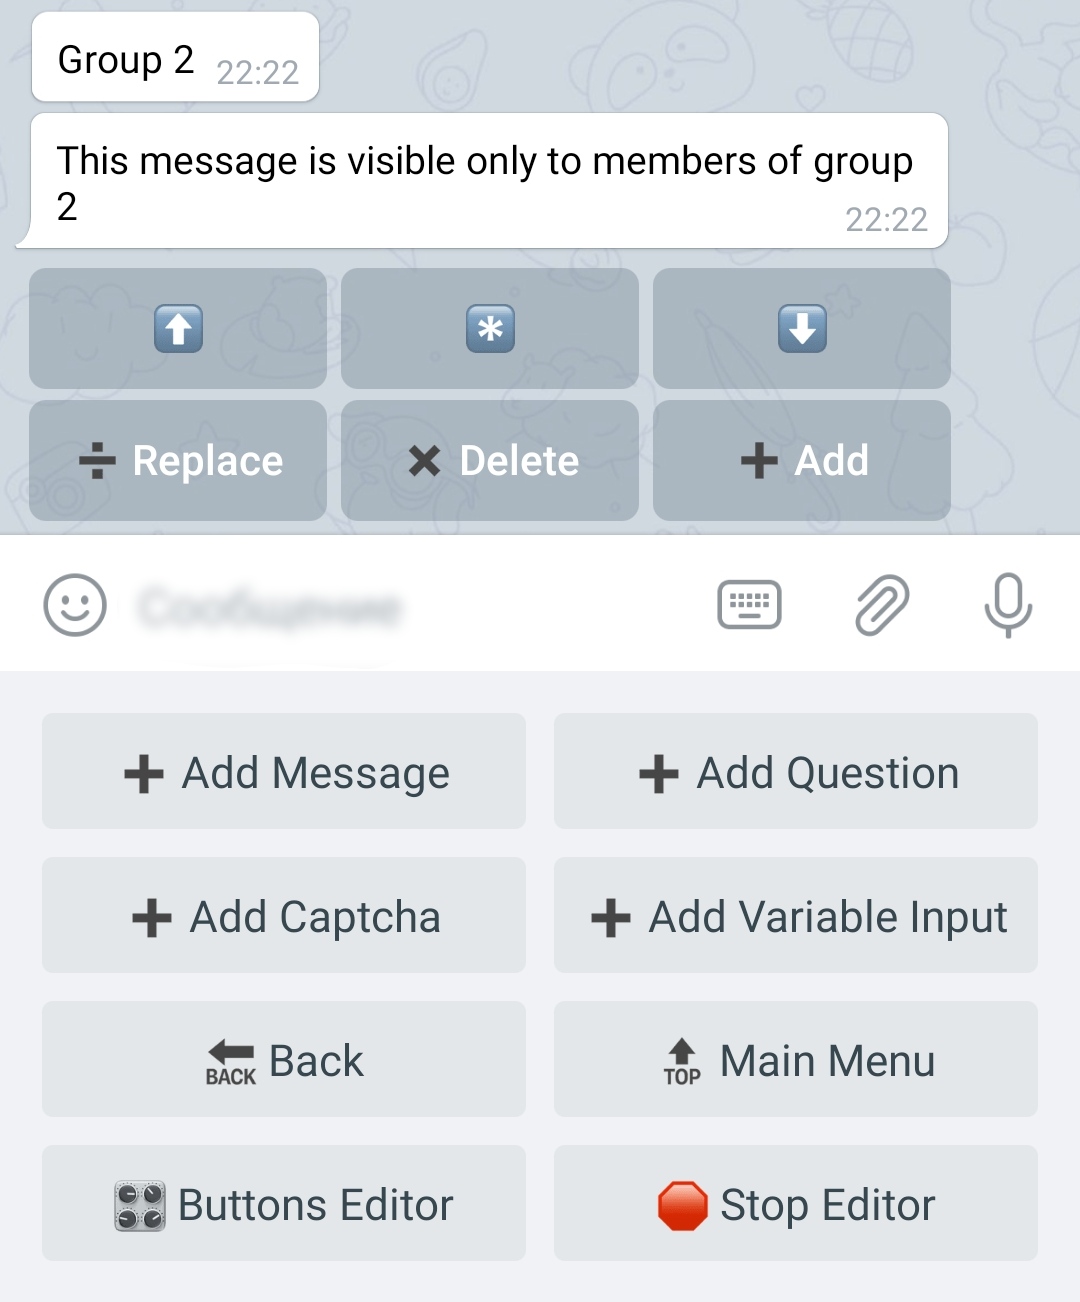
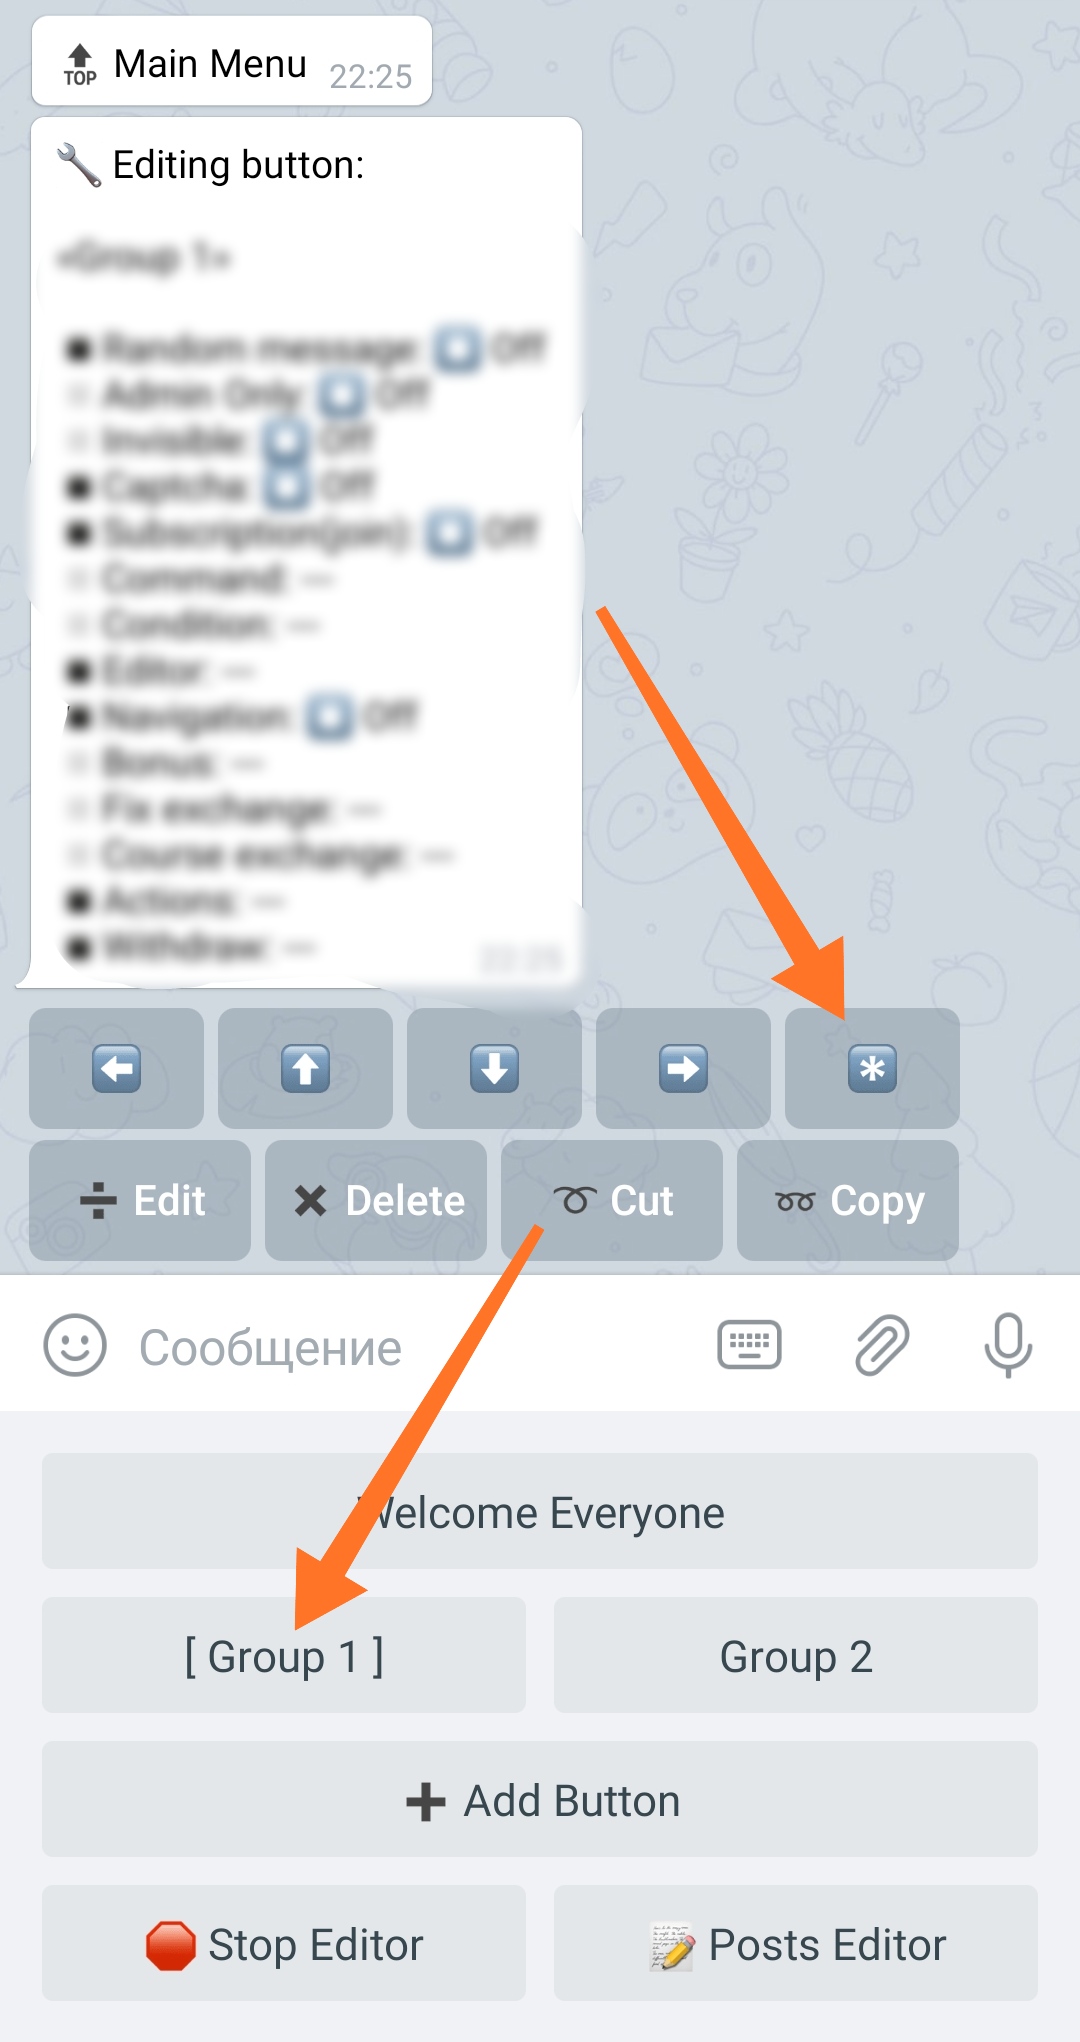
4. Select the "Group 1" button and go to its settings using Buttons Editor
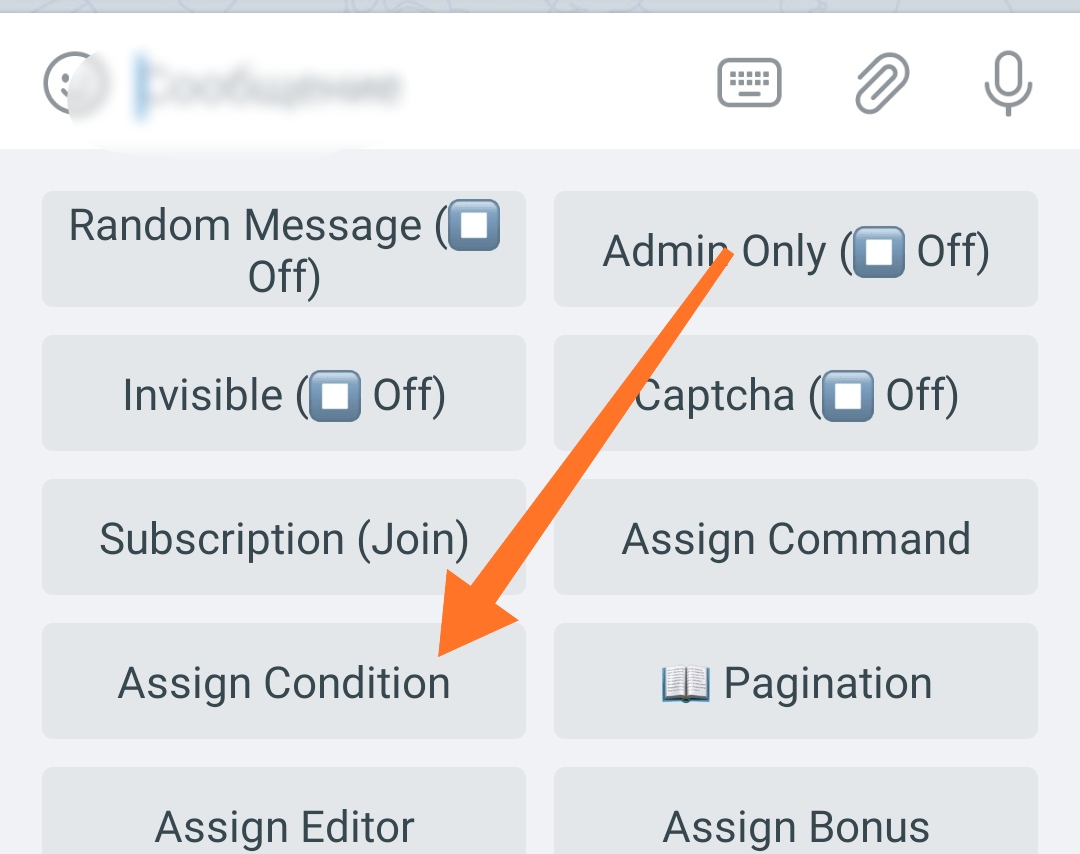
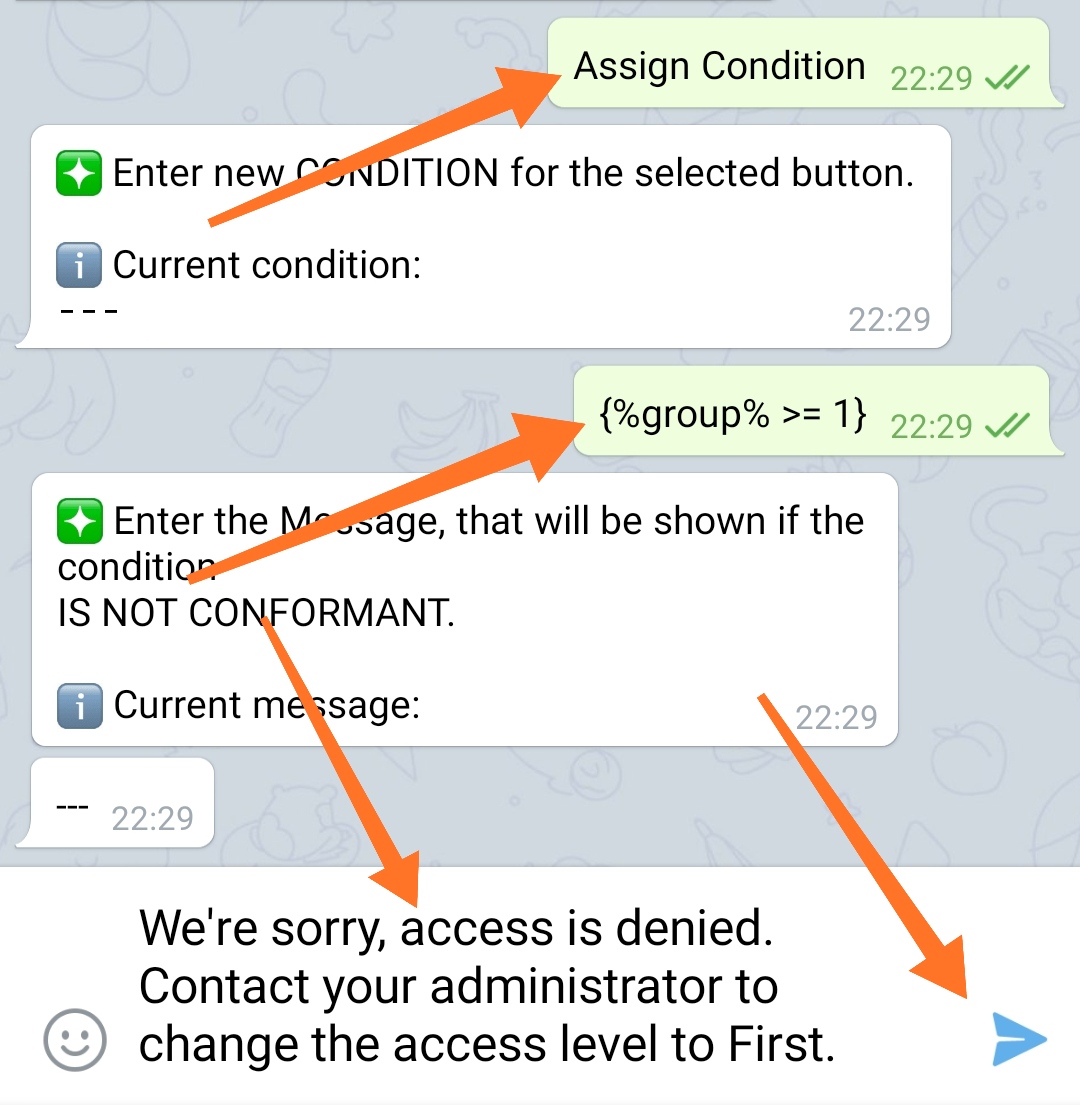
5. Click "Assign Condition"
You will not see this button if you have not purchased the "Conditions in Buttons" extension.
6. Add the following condition
{%group% == 1}
In this expression %group%, replace with a macros your variable, if you specified a different name when creating it. "1" in the expression should be replaced with the group number for which the condition is being created.
If you want the users of the second group also had access to this menu, use the following expression:{(%group% == 1) or (%group% == 2)}
In this case, only the users of the groups 1 and 2 will have access to this menu.
If you use the following expression:{%group% >= 1}
All users from Groups 1 and above will have access to this menu.
7. The next step is to add a message that you want to show to the user if he does not have access to this menu
For example:
"We're sorry, access is denied. Contact your administrator to change the access level to First."
8. Exit button settings
9. Create a condition for the "Group 2" button
{%group% == 2}
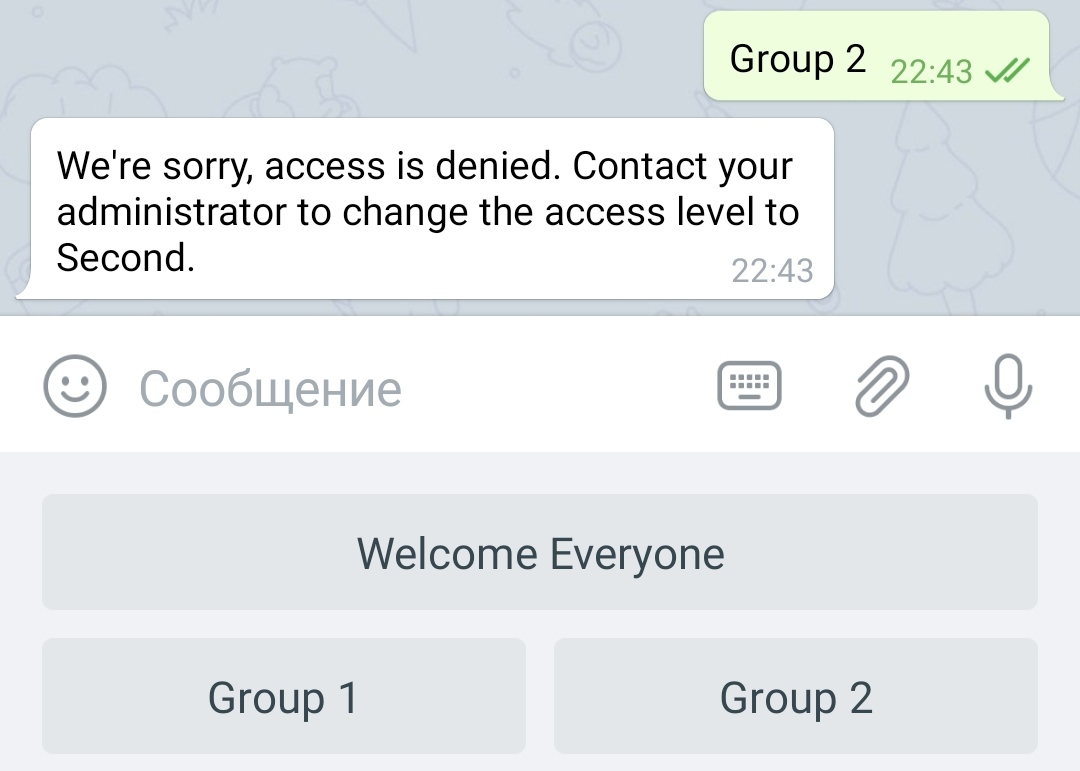
10. The next step is to add a message that you want to show to the user if he does not have access to this menu
For example:
"We're sorry, access is denied. Contact your administrator to change the access level to Second."
This is where you have finished configuring the bot's behavior, taking into account the presence of groups.
❖ How to manage user groups
1. By default, all your users will belong to the group number "0" (zero)
2. Use variable commands to manage user groups:
2.1. To find out the user's group, send following to the bot:/varget group userid/usercode
(Replace userid/usercode with the number of user's Telegram ID or its User-Code).

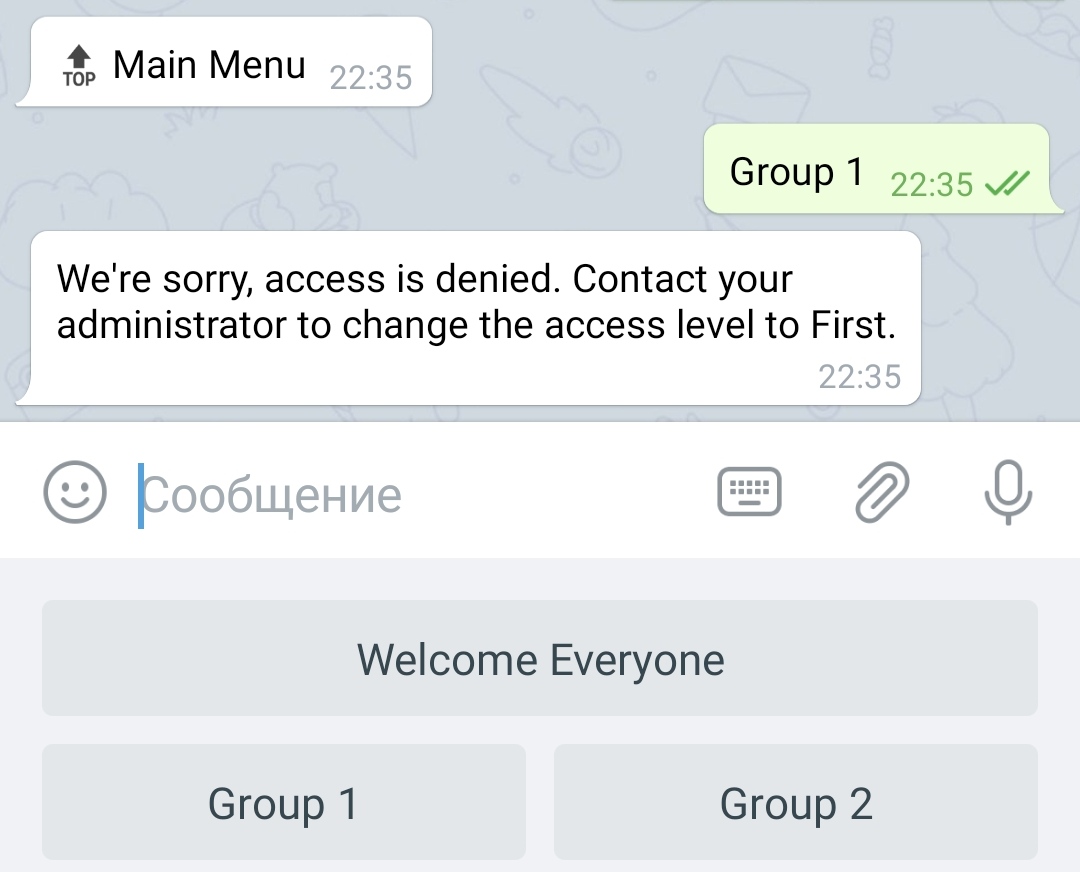
If, the user is assigned group 0 (zero). When trying to enter Group 1, access will be denied to him:
2.2 To set a group to a user use the command:/varset group userid/usercode 1
(Replace userid/usercode with the number of user's Telegram ID or its User-Code).
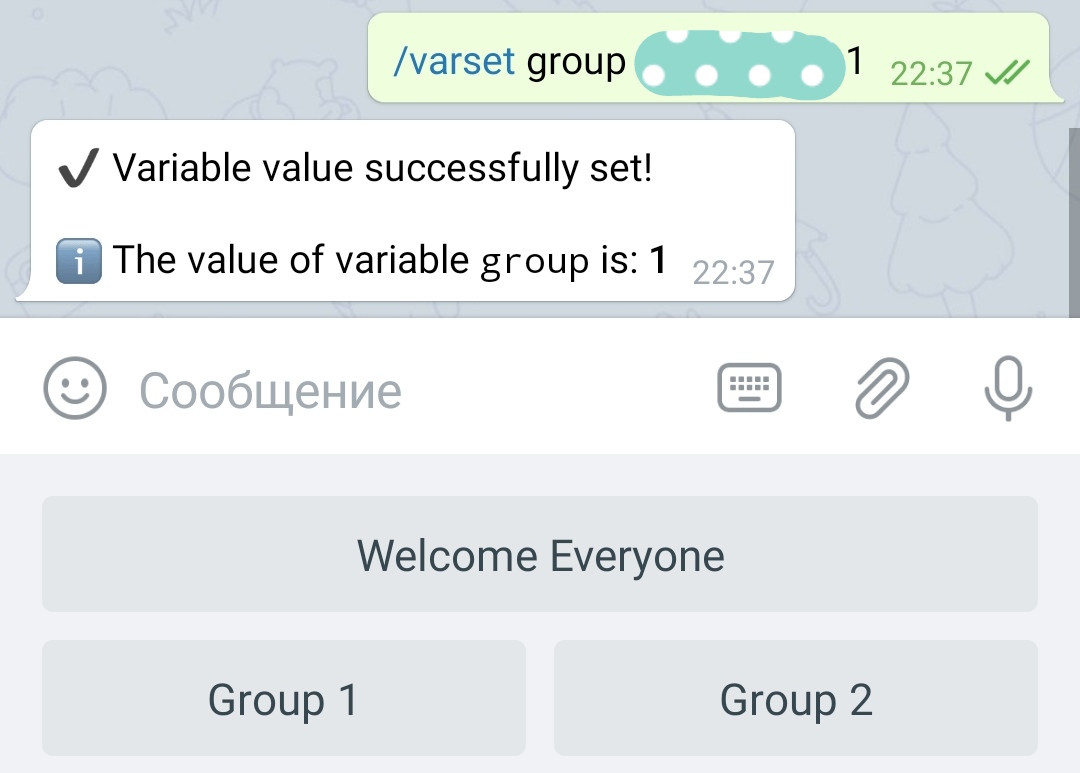
Now when the user is assigned to group 1, he can access the button "Group 1".
However, the entrance to "Group 2" will be still closed for him:
❖ How to automate the purchase of access to the groups
1. Purchase the button "Fix. Exchange 1"
You can use an unused button if you already have one.
2. Add a button
For example: "Buy access to group 1".
Go to button settings.
3. Add a condition to the button
{%group% < 1}
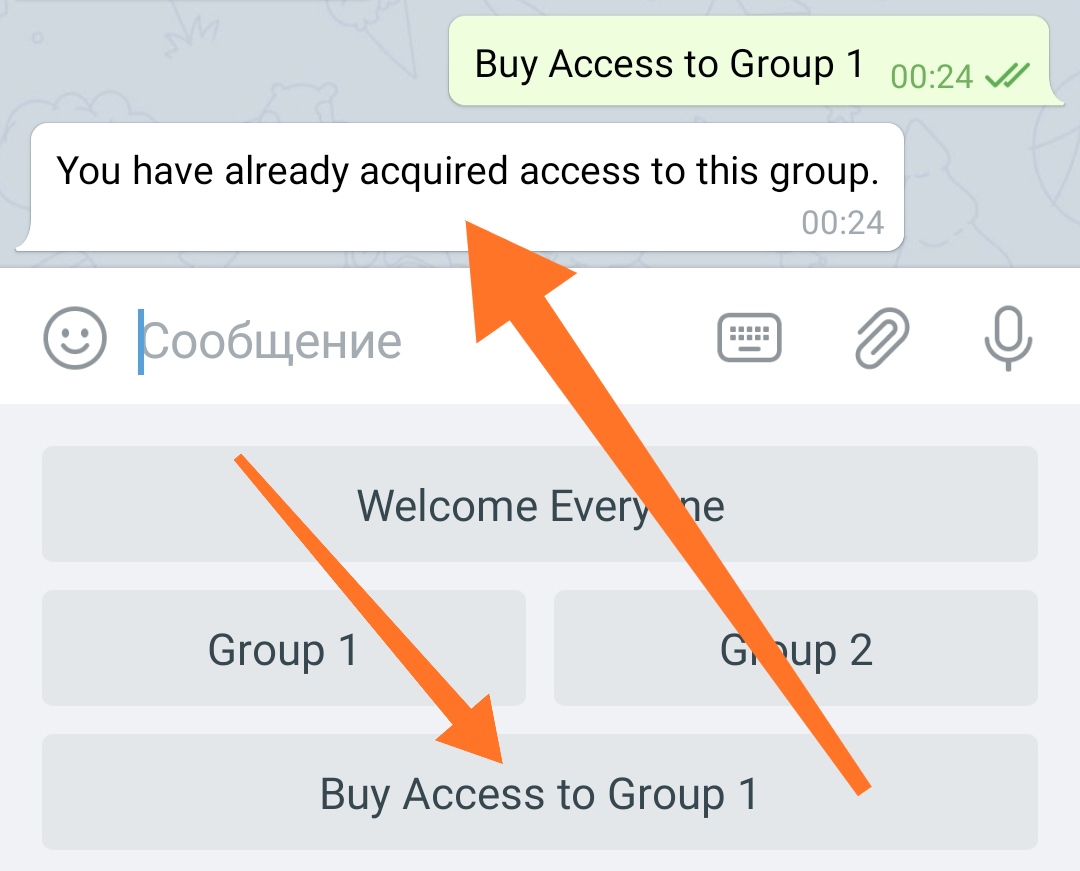
With an error message like this: "You have already acquired access to this group."
This will prevent users from purchasing the feature twice by mistake.
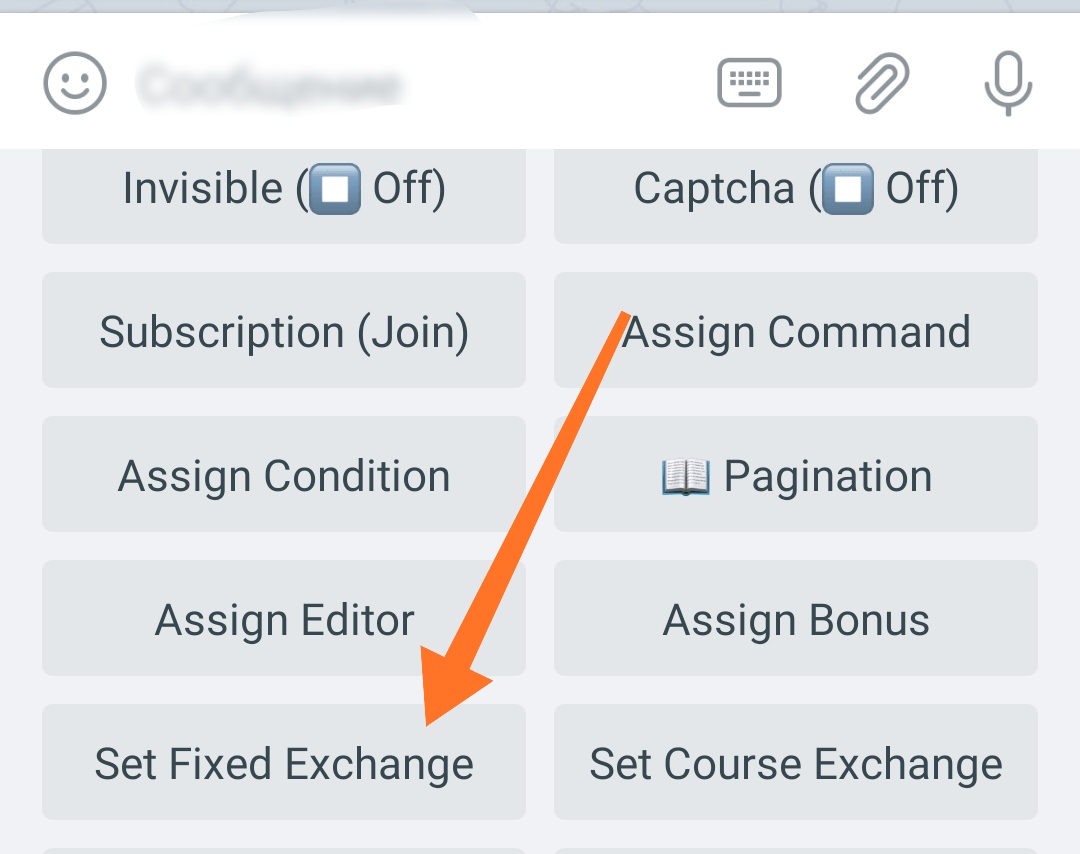
4. Click the "Set Fix. exchange"
You will not see this button if you have not purchased the "Fix. Exchange".
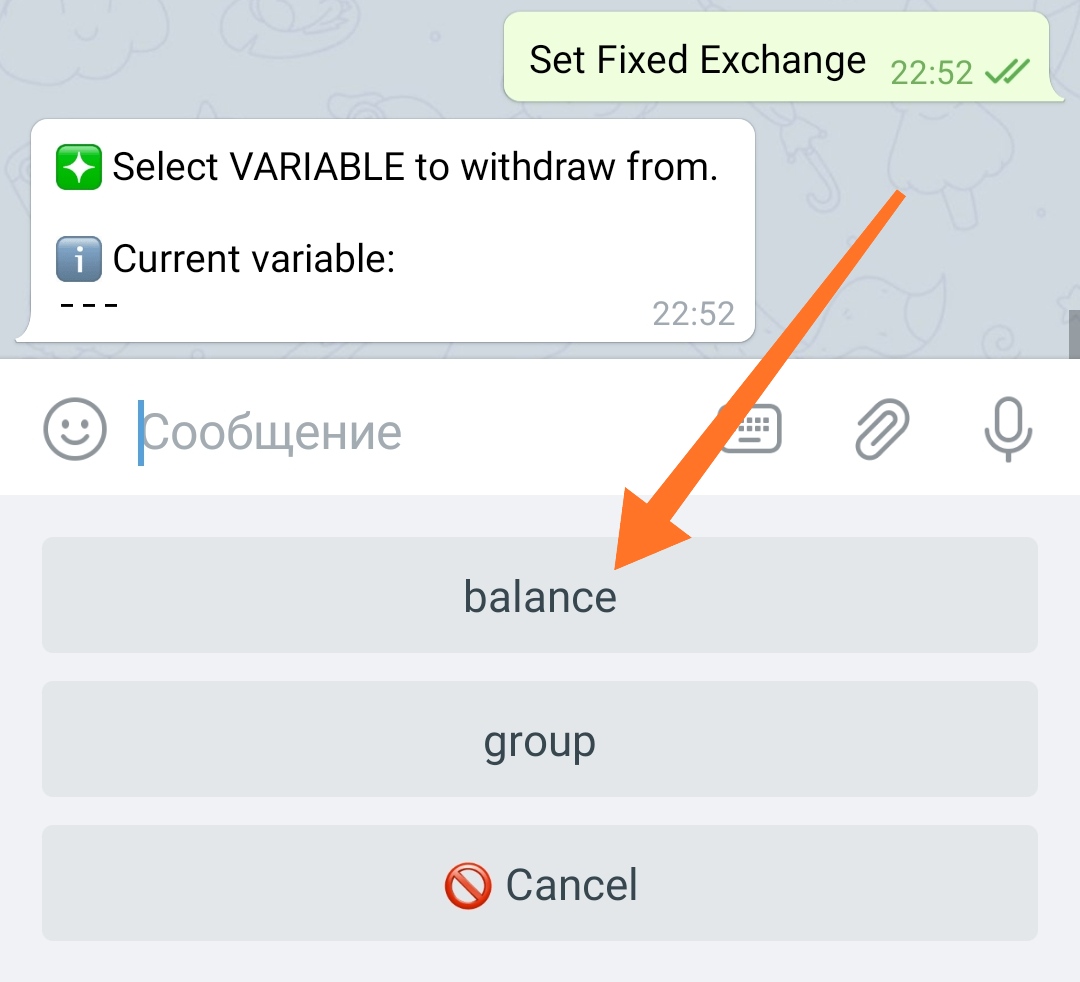
4.1 Select the variable balance.
(or any other that stores user funds in your bot.)
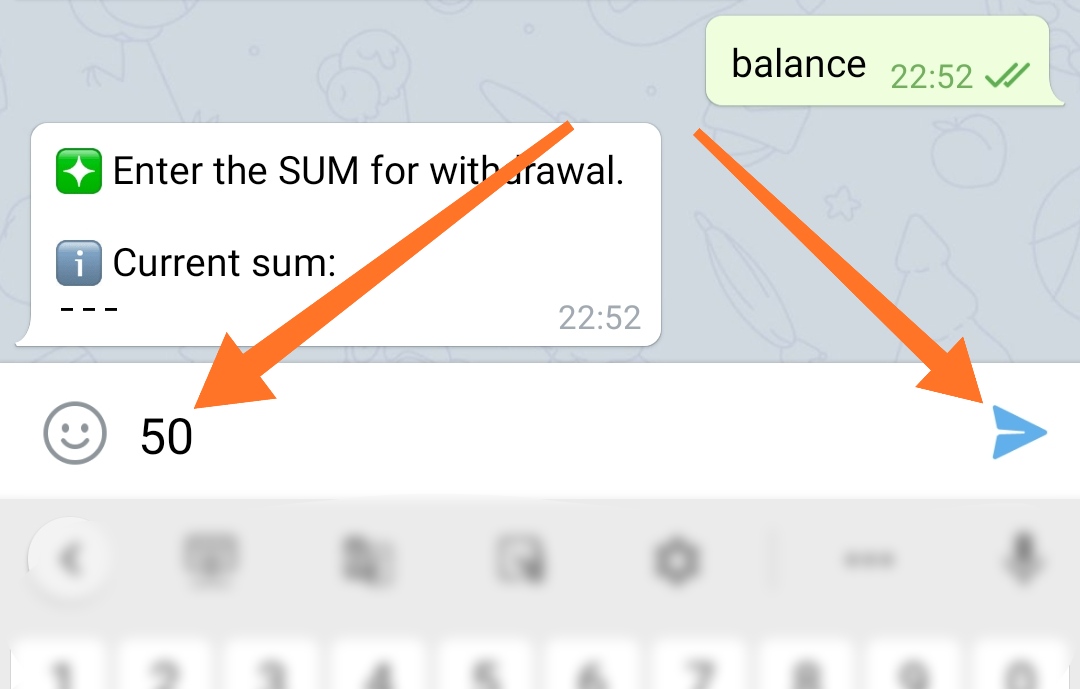
4.2 Specify the amount to be deducted (price) for access to group 1.
The specified amount will be deducted from the user's balance upon purchase.
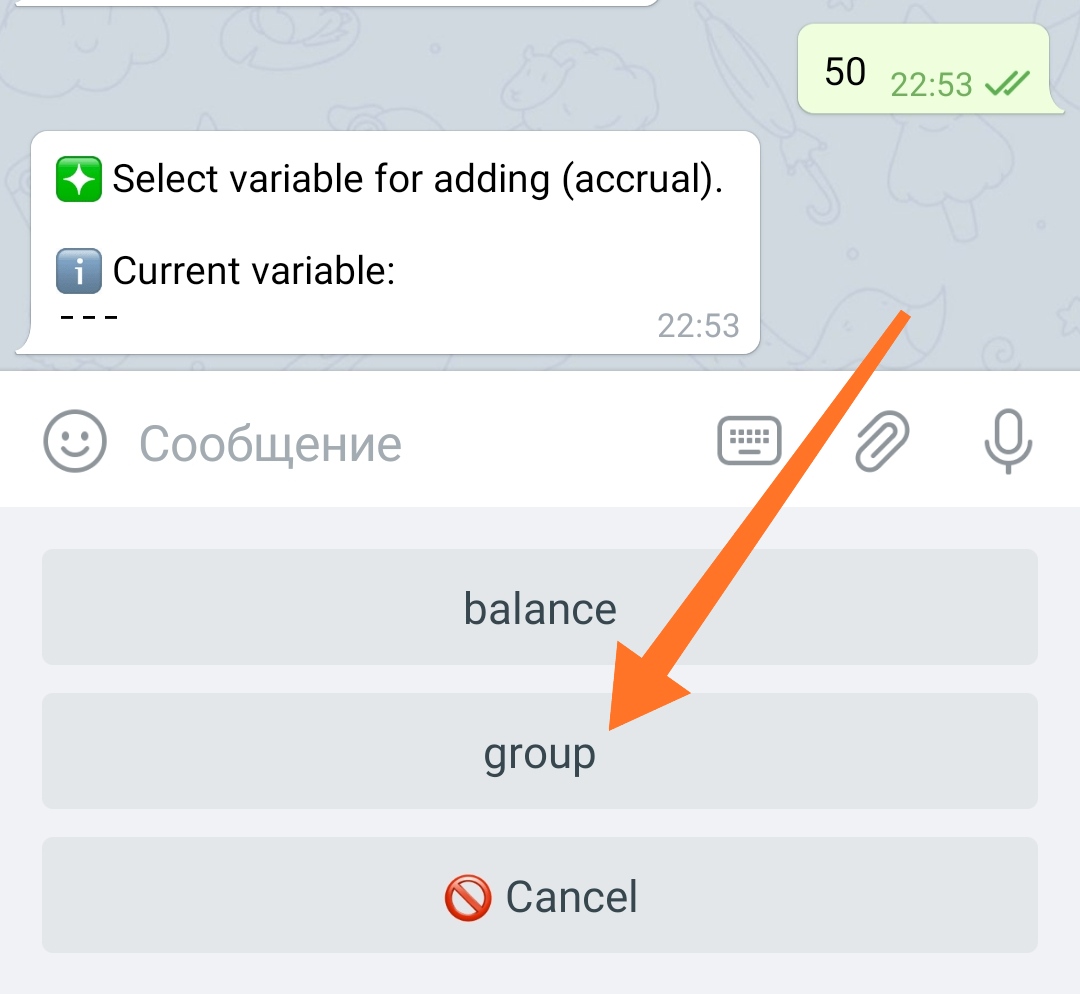
4.3 Select the variable group from the list.
(or the one used to store data about the group)
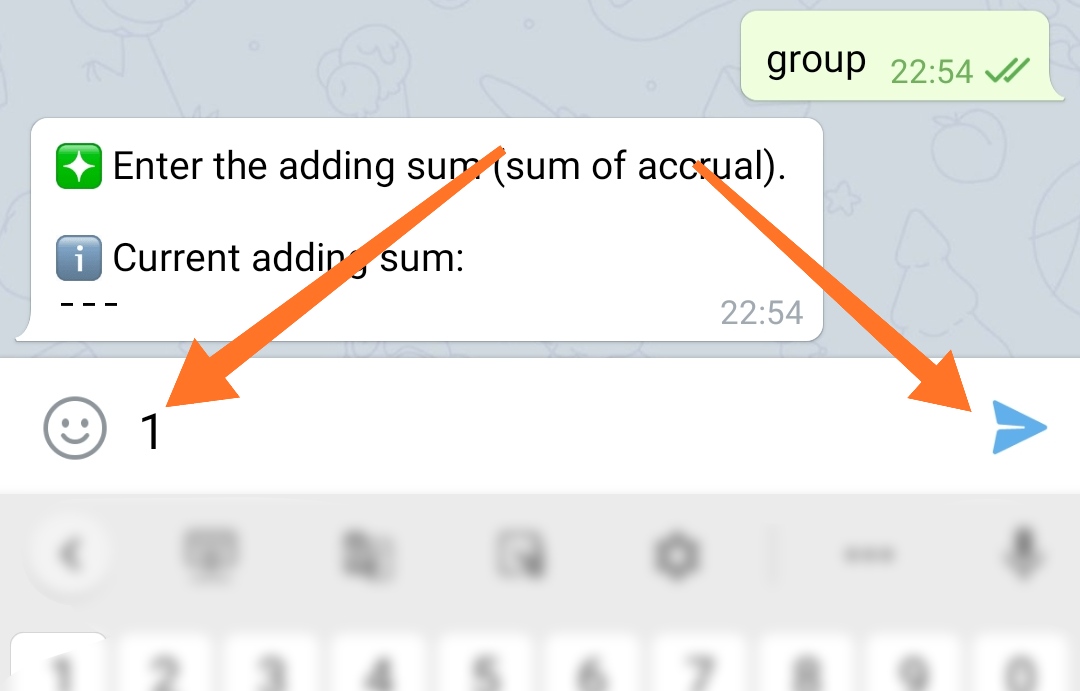
4.4 Set the value to 1.
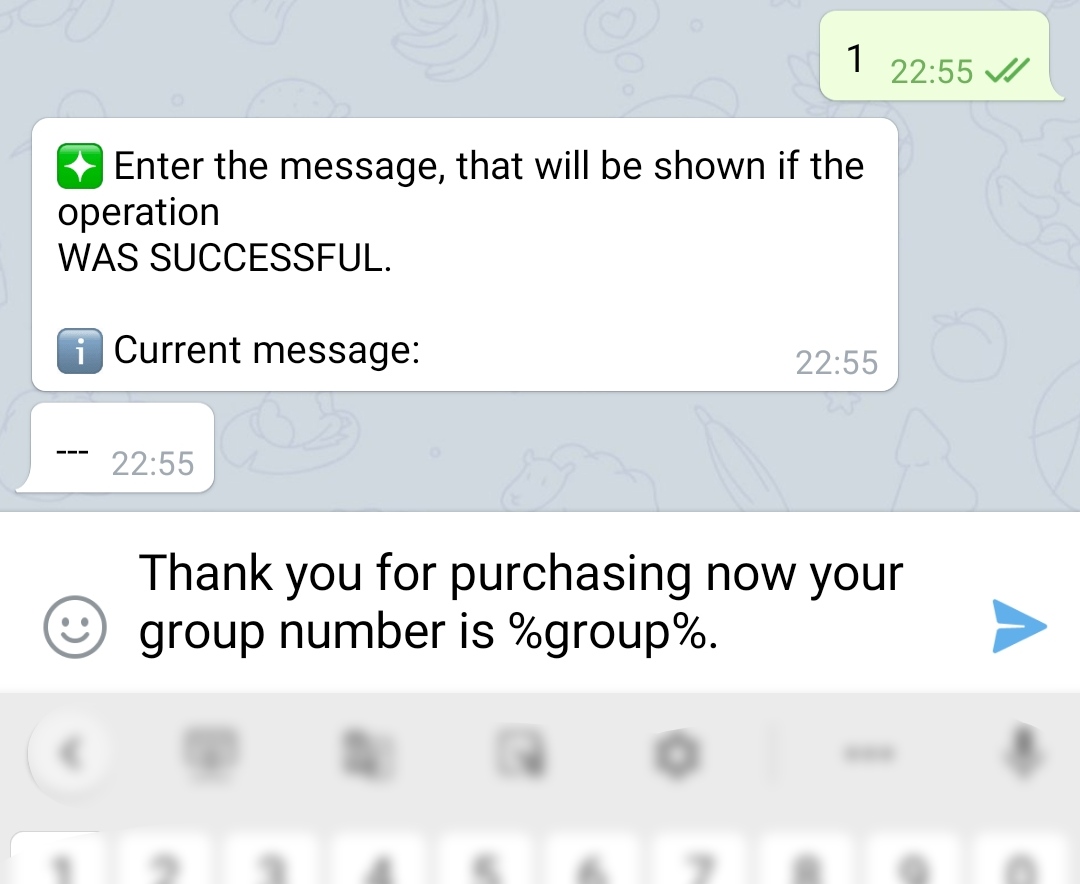
4.5 Enter a message for the case if the purchase was successful.
For example:
"Thank you for purchasing now your group number is %group%.".
As you can see from the example, in the message you can use the macros of %group% variable to show the user his new group number.
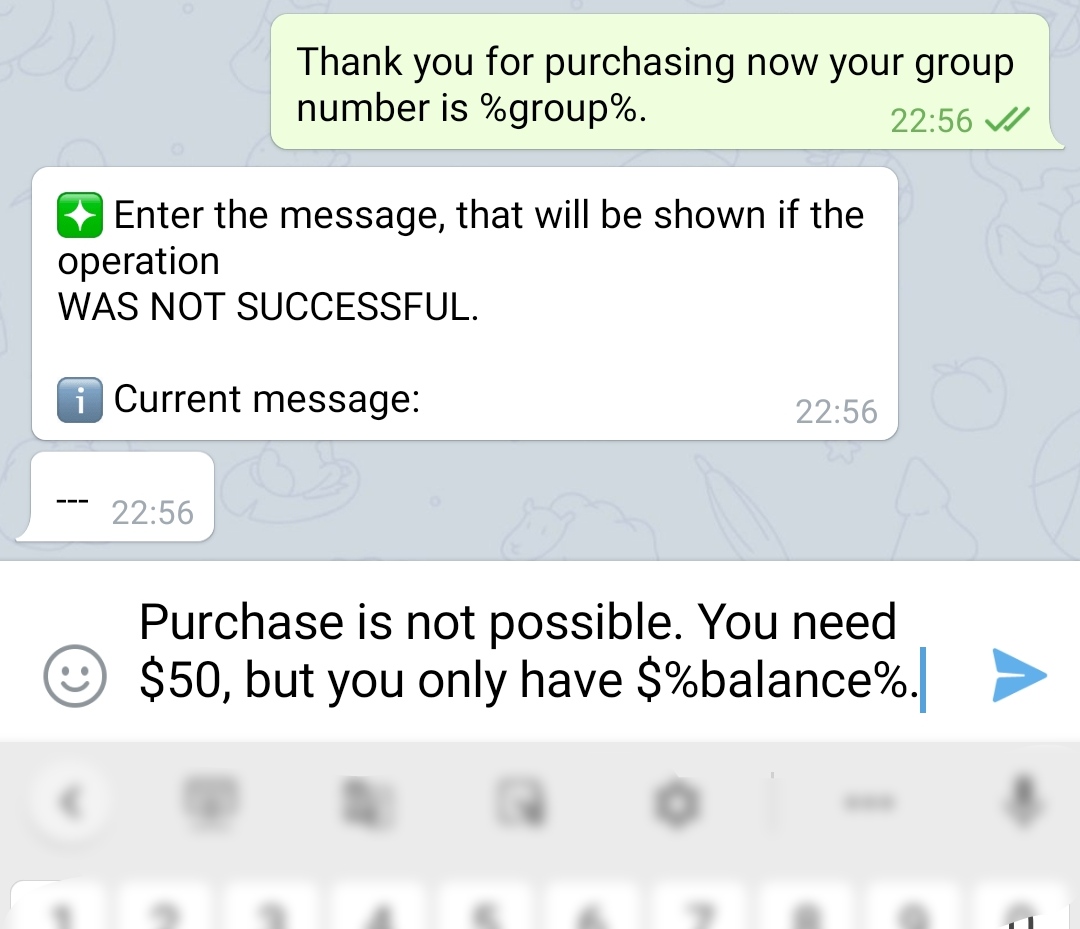
4.6 Enter a message for the case if a purchase is not possible.
For example:
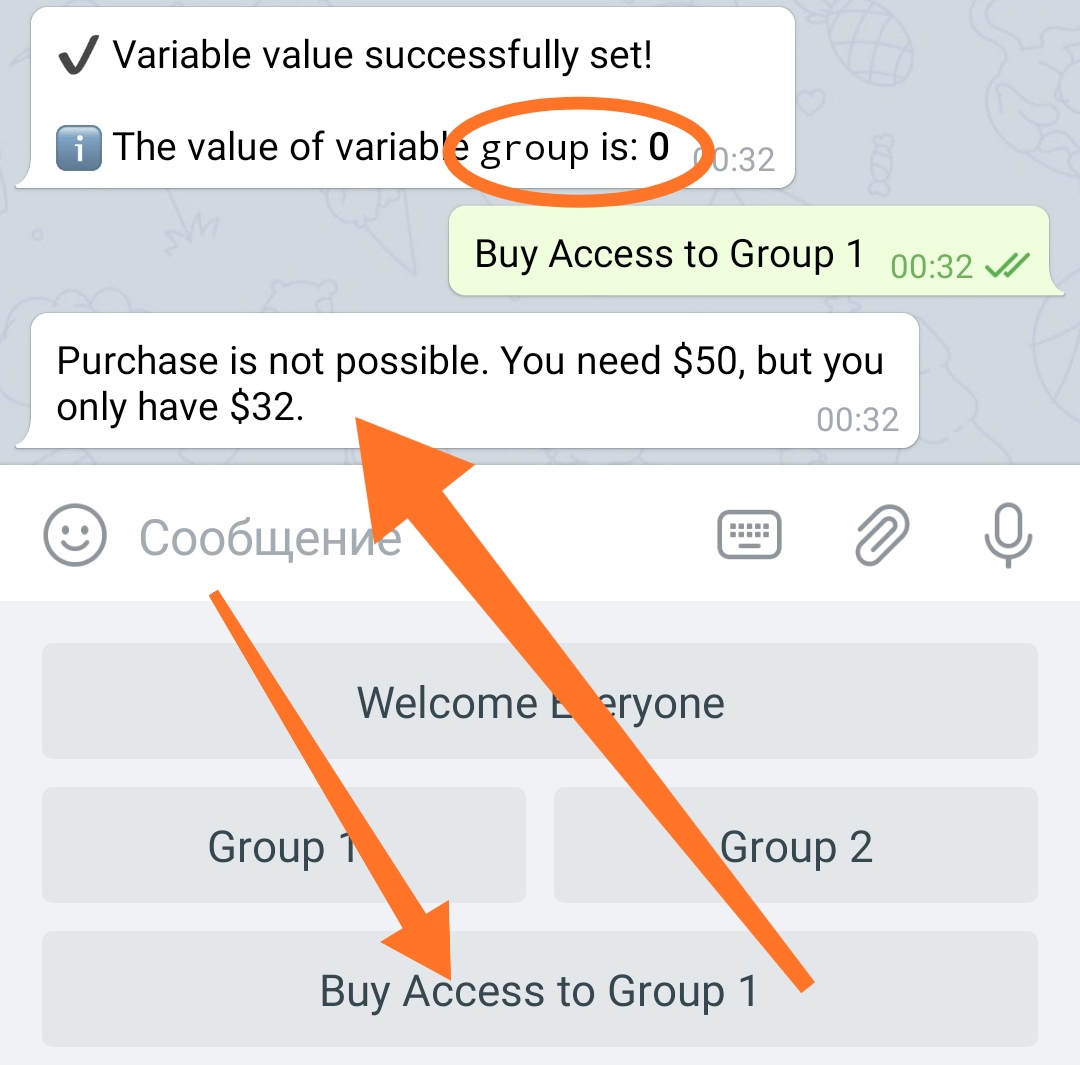
"Purchase is not possible. You need $50, but you only have $%balance%.".
As you can see from the example, in the message,you can use a macros of variable %balance% to show the user the current state of his balance.
4.7 Exit the button settings.
You are done with setting up an automatic acquisition of group 1 access.
• • •
If the user already has 1 in group - this is what he will see:
If the user is assigned group 0 (zero) and there are not enough funds on the balance, this is what he will see:
If the user has enough funds and the purchase was successful:
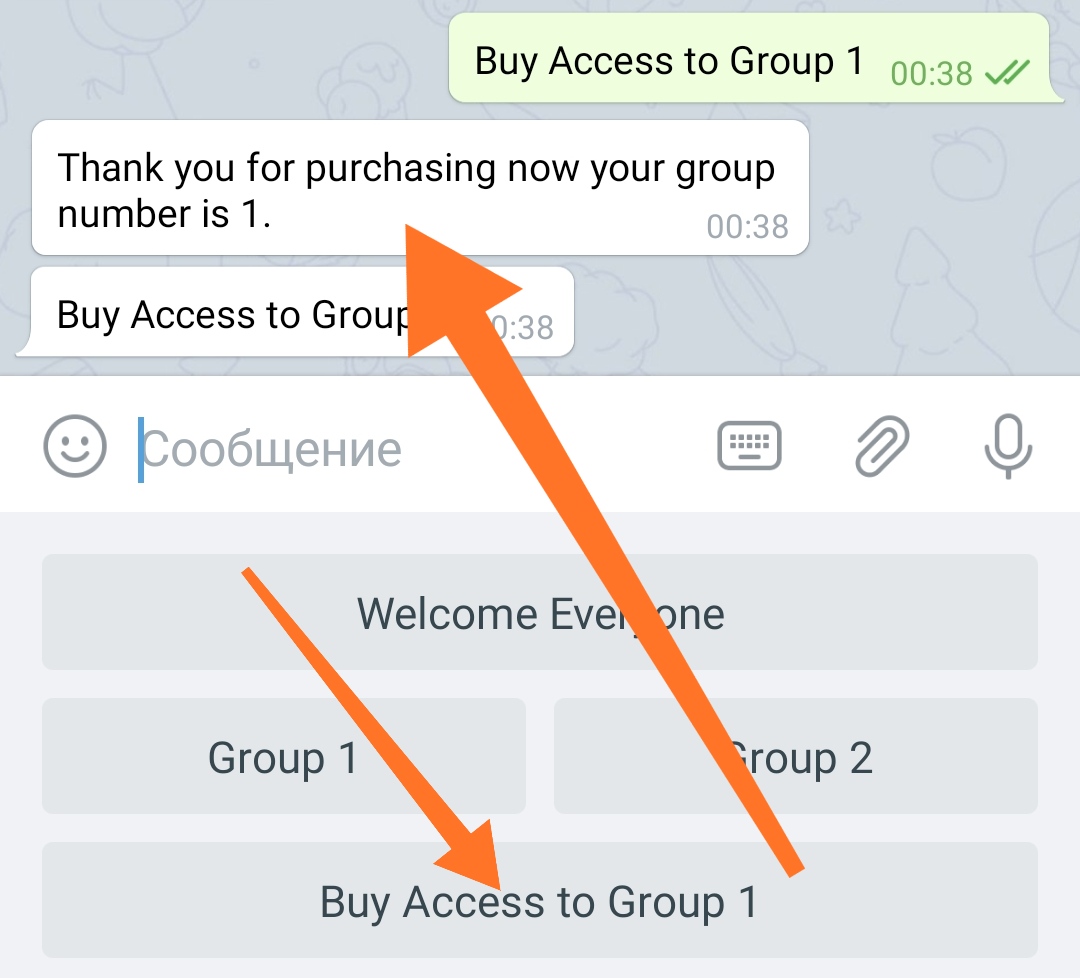
Now the user will be assigned group 1 and he will have access to the corresponding button of your bot.
• • •
The creation of a mechanism for the user's automatic acquisition of access to the group 2 can be done in a similar way.