
Autopayments - Telegram Stars [KYC]
Guide for self-assist activation of autopayments in Telegram «⭐️Stars».
TELEGRAM «⭐️STARS» - allows your bot to accept auto payments and credit their amounts to the balance of users in the bot.
● Payment system address: http://t.me/telegram.orgAUTO PAYMENTS (accepting payments)
● Identification: Issued Invoice (link).
● Currencies: Telegram «⭐️Stars».
● Auto withdrawal: NOT available.
📆 Paid monthly (the current cost see while paying).
🔧 Setting up activation:🔐Admin | 💸Autopayments
ATTENTION: The system requires KYC to work with payments - use at your own risk.
When we start talking about autopayments in this guide, we assume that you already have a basic knowledge of how to work with the constructor and we do not need to explain to you, for example, how buttons and messages are added to your bot's menu. If, nevertheless, you still need to be explained these basic things, then you way too early attempting to create the autopayment functionality.
❖ Autopayments (accepting payments)
How to organize automatic acceptance of TELEGRAM «⭐️STARS» payments in your bot.
BEFORE TURNING ON - IT IS IMPORTANT TO UNDERSTAND:
1. The «⭐️Stars» you receive are credited to the balance of the BOT in which the payment was made.
2. You can view the balance of the «⭐️Stars» of the BOT by going to the bot's description - in the MOBILE Telegram client and one of the latest versions of the application (approximately not lower than version 11).
3. MenuBuilderBot - only INITIATES the transfer of funds - the transfer itself is carried out natively - by Telegram itself and the constructor HAS NOTHING TO DO WITH THIS PROCESS.
4. Withdrawal of funds from the BOT's balance - according to official information - is carried out by exchanging them for TON through the Fragment platform.
5. It is NOT POSSIBLE to transfer funds from the BOT's balance to the Account's balance (not allowed by Telegram).
Required Functions
Functionality of the «🧩Extensions» section: you need macros to show Usercode.
User Macros
To connect, go to your bot:☞ 🔐Admin | 🧩Extensions | 📂Macros
The functionality of the «🧩Extensions» section: if you do not use a variable balance for accruals, then you will need additional variables.
Add. Variables
To connect, go to your bot:☞ 🔐Admin | 🧩Extensions | 📂Variables
Autopayments setup
1. Checker settings
Using the setup wizard, enter all the requested data.
No data required - just click the button
2. Pay the checker
Make payment for the amount shown.
Payment for at least a month. Exchange the required amount in TMH on your @MenuBuilderBot account, based on the number of months of activation.☞ 🔐Admin | 🧩Extensions | 🏦Your Wallets
3. Activate the checker
Turn on the checker to continue the setup.
4. Balance in XXXX
It is necessary to set variables - where to accrue funds for each of the available currencies.
For more information on specifying variables for accrual, see the TRON manual.
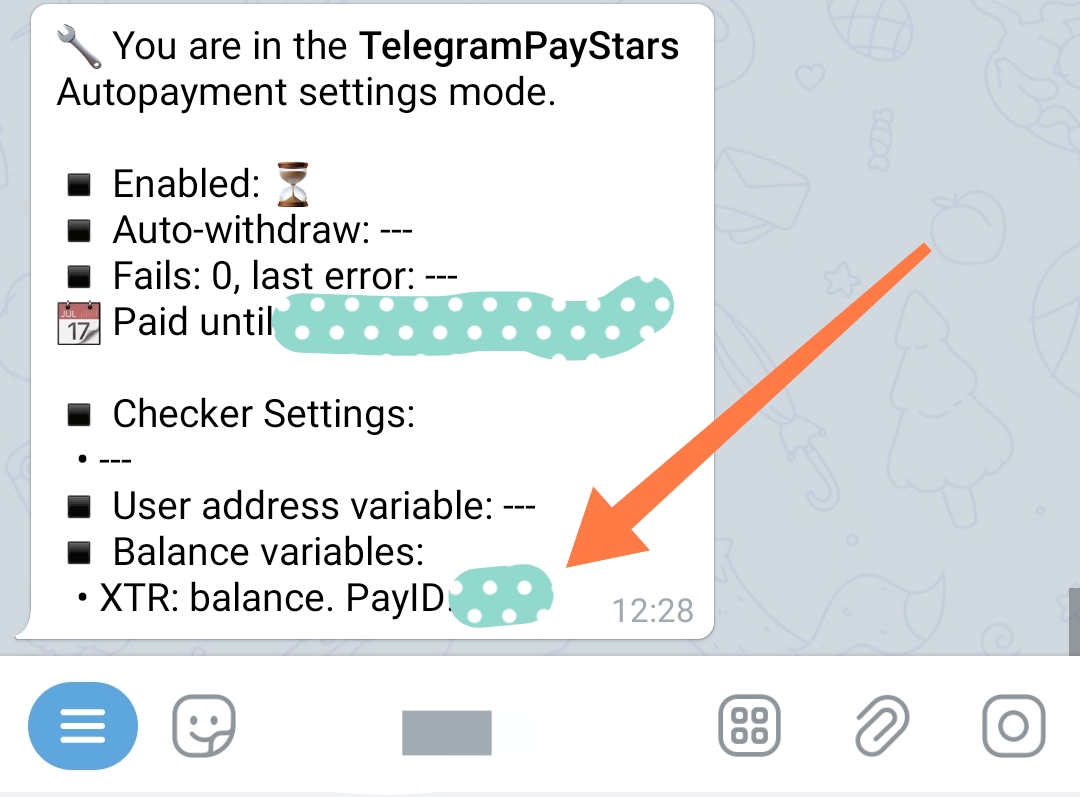
IMPORTANT: PayID for each of the currencies will be generated after the variable setting is completed and shown in the information message when entering the autopayment settings of this system.
Set up a report group for autopayments
During autopayments, reports with the data of a specific top-up will be sent to the group you specified.
For more information on setting up a report group, see the TRON manual.
IMPORTANT: Restart the bot
After completing all the Checker settings, you must RESTART YOUR BOT in the project's head bot: @MenuBuilderBot.
This action is performed ONCE and allows the bot to update the Webhook. Otherwise, the user may encounter an error when trying to pay.
How to organize Telegram «⭐️Stars» Autopayments in your bot's menu
How to organize auto payment through Telegram «⭐️Stars».
If you have already enabled TELEGRAM «⭐️STARS» automatic payments in your bot, you need to create a way for people (your users) to automatically top-up. What is needed for this:
All you need in the bot is to create a menu with «Invoice» buttons for the number of currencies you want to accept. Follow the link to read the complete Guide to setting up the Invoice button. Below are the main points.
1. Create buttons in the bot to generate Invoices for each currency from those you specified when activating autopayments and planning to accept for payment. To do this, an appropriate number of slots for such buttons will be added to your bot. Each of the currencies you specify will be assigned with its own "PayID".
Usually the number of added "Invoice Buttons" corresponds to the number of currencies available in Telegram «⭐️Stars» itself at the time of adding. If Telegram «⭐️Stars» adds new currencies over time and you want to accept them, then just contact support using the special form for questions about Autopayments and ask them to add the missing amount to you.
2. In order to create buttons for generating invoices, create a regular button and go to its settings and click:
• «Assign Invoice».
• Then follow the instructions of the Setup Wizard.
3. Create buttons for each of the currencies you specified, assigning each with the corresponding PayID issued to you.
The accrual variable is ALREADY associated with the corresponding PayID.
FOR REFERENCE: see how Telegram «⭐️Stars» autopayment is organized in our system.
To do this, go to your bot:
https://t.me/MenuBuilderBot
❖ Error messages
For a list of ALL error messages, see the «Autopayments and Withdrawal of funds - general information» guide.
❖ Autowithdrawals (payouts)
Withdrawals (semi-automatic)
If you have Autopayments functionality, you may need a button to withdraw funds. The button allows you to automatically debit funds from the variable you specify where the user’s Balance is stored. The actual transfer of funds to the user’s external wallet is carried out manually by the administrator. The button allows you to partially facilitate the withdrawal process by limiting yourself to solely transfers, as well as maintaining a kind of history (Log) of withdrawals in a separate group where withdrawal requests will be send.
For more information about working with the Withdraw Button, see the manual.